Prepare 2D tile set for Rotorz Tile System
I recently received a question asking if Rotorz Tile System could be used to paint 2D tiles. A tile is a three-dimensional object that is represented by a prefab. So the answer was yes, because a plane can be created and mapped to the tile texture. When working with tile sets it is generally a good idea to pack tiles into a texture atlas in order to keep the number of draw calls low.
The process of creating such tiles manually is not an overly complicated procedure, but can easily become time consuming. A plane mesh must be created for each texture atlas mapping with varying UVs for each tile. A tile brush must then be created for painting with. So I decided that it would be useful to add a utility window to ease the process of creating 2D tile brushes.
The following video demonstrates the process of creating a 2D tile set. The video then proceeds to demonstrate the creation of an oriented tile brush using the automatically generated tile brushes.
Credit for demo atlas artwork: http://mapledev.tumblr.com/post/10406905135/howtotileset
-
Ensure that Mip-Mapping is disabled for texture atlas from image import options.
-
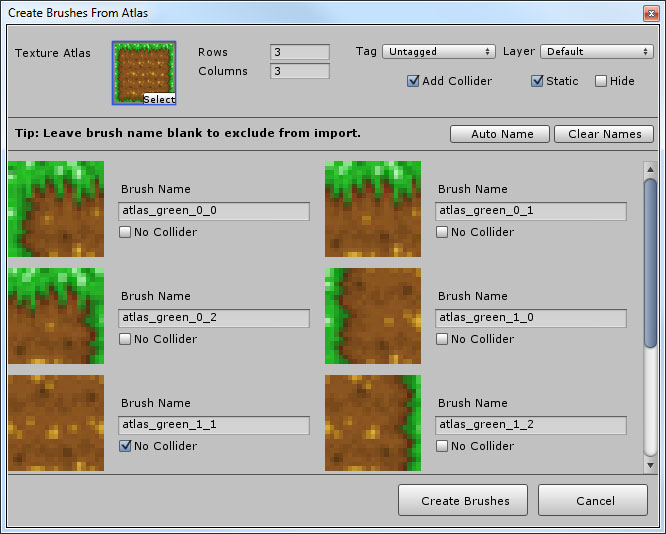
Open “Brush Designer” window and select “Create Brushes from Atlas” button from lower left of user interface. This should display the following window:

-
Click “Select” button to right of “Texture Atlas” and select the tile texture atlas. Alternatively you can simply drag the texture from the project panel into the “Texture Atlas” field.
-
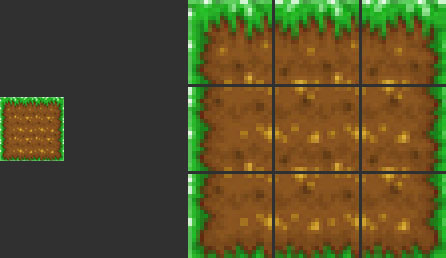
Specify 3 rows and 3 columns to define individual tiles.
-
Tick “Add Collider” checkbox to automatically add a box collider to each generated tile. This will reveal a “No Collider” option for each brush that will be generated which allows you to exclude specific brushes from having a collider added. This is useful for inner tiles that cannot be collided with.
-
Tick “Static” to indicate that tiles will be optimized when tile system is built.
-
You can then name brushes as desired or use “Auto Name” to name brushes automatically. Do not specify a name for brushes that you do not want to create.
-
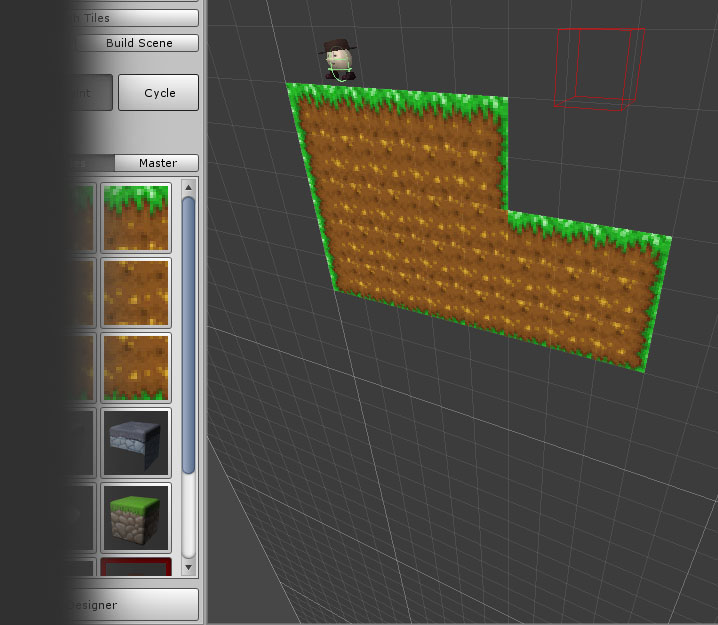
Click “Create Brushes” and then you should be able to easily paint with 2D tiles: