Publishing Unity game to Chrome Web Store
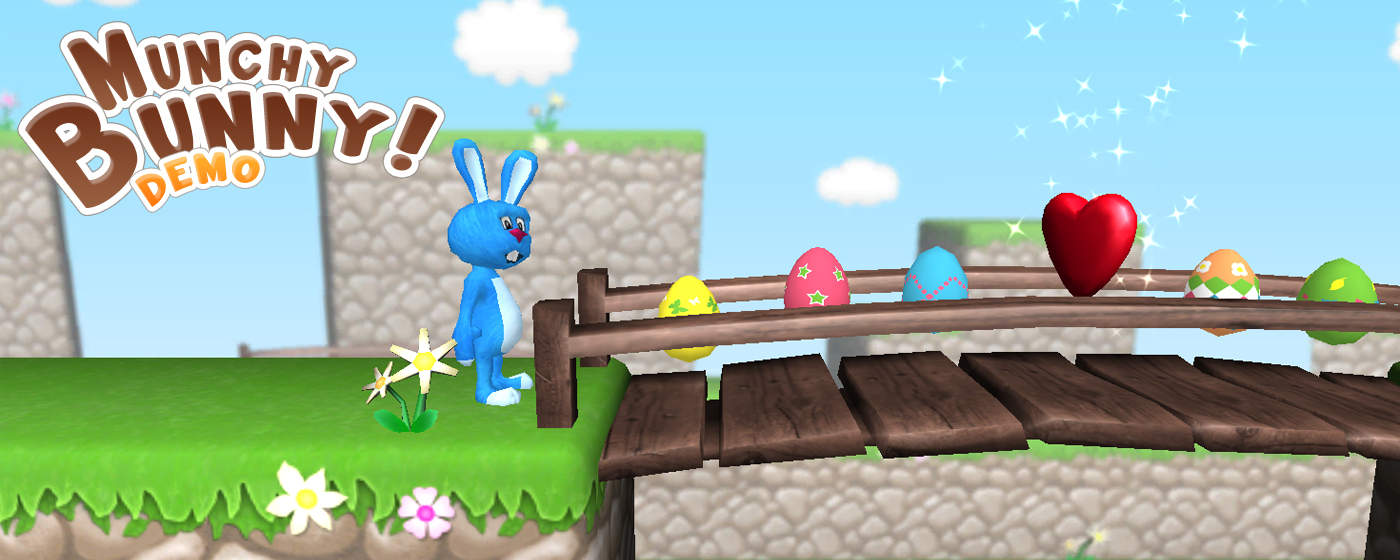
A couple of days ago I decided to publish a demo version of Munchy Bunny! There were several motivations behind this:
-
A useful opportunity to learn how the Chrome WebStore works.
-
Promote interest in Munchy Bunny!
-
Allow developers that have shown an interest in the game from the Unity community to take it for a spin!
-
Provide a demonstration of the tile system that Rotorz Limited hope to release soon.
The overall process was relatively straightforward and I wanted to share my experiences in this post. Some of this will apply to all Chrome WebStore extensions, however some will apply more to those who are developing games using the Unity 3D game engine.

Munchy Bunny! needed to be altered in various ways so that it would work more comfortably within a web browser environment. This included the removal of iOS specific features like leaderboards and achievements. Unless I can find a generic leaderboard and achievement solution (suggestions would be welcome!) that will work outside of game center, I may need to create an alternative solution for a future commercial release of the extension.
I also spent a little time tweaking quality settings for the webplayer version to reduce the overall size of the built game.
From the build settings I experimented with both the native client (for Chrome) and the usual Unity WebPlayer. I feel that these each have their own advantages and disadvantages. I think that for me the most significant advantage that the Unity WebPlayer has over NaCl is that it supports joystick input. I am a big fan of the Microsoft Xbox 360 Controller for Windows and I love the fact that it can be used to play games that I make!
I uploaded and tested both the WebPlayer and the NaCl version. The NaCl version was approximately 120MB uncompressed (about 32MB compressed if memory serves). The WebPlayer version is approximately 8MB (both compressed and uncompressed). I was initially led to believe (from forums) that a limit of 10MB was in place, but this did not seem to be the case. Again, please feel free to comment if you are aware of any size limitations for extensions.
I customized the HTML file that was generated by adding a background and colour scheme in-keeping with the game. As far as the application is concerned, that pretty much just leaves the following:
-
Create a manifest file to describe the extension to the Chrome WebStore.
-
Take some screenshots (or provide video preview on YouTube).
-
Write a description and provide artwork for icon.
-
Publish extension for testing.
-
Finally, unpublish extension and then publish for release.
I used the manifest.json file that was generated for NaCl version as a starting point
and then altered it to work with the non-NaCl version instead. Here is the manifest file
that I created:
{
   "name": "Munchy Bunny! Demo",
   "version": "1.0.4.5",
   "description": "Classic platformer fun for Google Chrome. Bounce through 2 demo levels collecting eggs and find the hidden golden eggs!",
   "icons": {
      "16": "icon16.png",
      "48": "icon48.png",
      "128": "icon128.png"
   },
   "offline_enabled": true,
   "app": {
      "launch": {
         "local_path": "WebPlayer.html"
      }
   }
}
My version numbers consist of three parts (1.0.4 for example) however you may notice the presence of an the additional “.5” number. It took 5 revisions before I was happy to submit my extension for the masses. Each submission of an extension must have a newer version number, so adding the fourth part allows this without altering the release version each time for trivial changes.
With Munchy Bunny! the idea is to keep version numbering consistent across all platforms. Currently the iPhone/iPad is running version 1.0.3, for example. The demo version is 1.0.4 in this case because it contains improvements that have not yet been applied to the mobile version.
This is quite an important concept to bare in mind because otherwise you could loose some control over your version numbers (like accidentally releasing 2.0.4 instead of 1.0.4). There doesn’t appear to be a way to correct this without deleting the extension and starting over (which could mean loss of reviews and valuable feedback from end-users).
My game does not require a connection to the Internet once it has been installed. So I added the “offline_enabled” property. I needed to adjust the launch path so that it would launch the WebPlayer instead of the NaCl version.
Having done this all I needed to do was to zip the following files for submission:
- img (directory) – for custom styling of HTML page
- icon128.png
- icon48.png
- icon16.png
- manifest.json
- style.css
- WebPlayer.html
- WebPlayer.unity3d
I found the whole process surprisingly straightforward, and the extension became available immediately for download. It took just over 24 hours before the extension was available via search facility of store, and about 3 days before appearing in Google search results.